Spray foam insulation seals gaps and helps lower energy bills. But it also releases fumes that take time to clear. Some homeowners leave to avoid irritation, while others stay with extra ventilation. Knowing how long to wait before going back inside keeps the air fresh and safe. If you’re considering getting spray foam insulation in Houston TX, plan for proper ventilation. The right steps prevent strong odors and discomfort. Taking safety measures makes the process easier and the results better. With the right waiting period, you can enjoy improved insulation without dealing with lingering fumes or poor air quality.
Why Ventilation Is Important After Spray Foam Insulation
How Long Do Spray Foam Fumes Stay in the Air?
Spray foam insulation releases chemicals that create strong fumes. These fumes can irritate the eyes, nose, and throat. The time they need to clear depends on airflow, humidity, and temperature. Most insulation products take 24 to 48 hours to air out fully. Poor ventilation makes the process slower, while strong airflow clears fumes faster. Smaller rooms hold odors longer than open spaces. If the smell is still strong after two days, more ventilation is needed. Opening windows and using fans helps. Staying inside too soon may cause discomfort, especially for people sensitive to strong smells.
Best Ways to Remove Lingering Odors
Lingering odors from spray foam insulation fade faster with proper airflow. Keeping windows and doors open allows fresh air to move through. Placing fans near windows pushes fumes outside. Running the HVAC system on high helps circulate air but may require a filter change afterward. Air purifiers with activated carbon filters absorb odors and chemicals. If the smell remains strong after 48 hours, increasing ventilation speeds up the process. Avoid sealing off rooms until the odor fades. Homes with steady airflow usually clear out fumes within a few days. Proper ventilation helps make re-entry safer and more comfortable.
Do You Need to Leave During Installation?
Risks of Staying Indoors During the Process
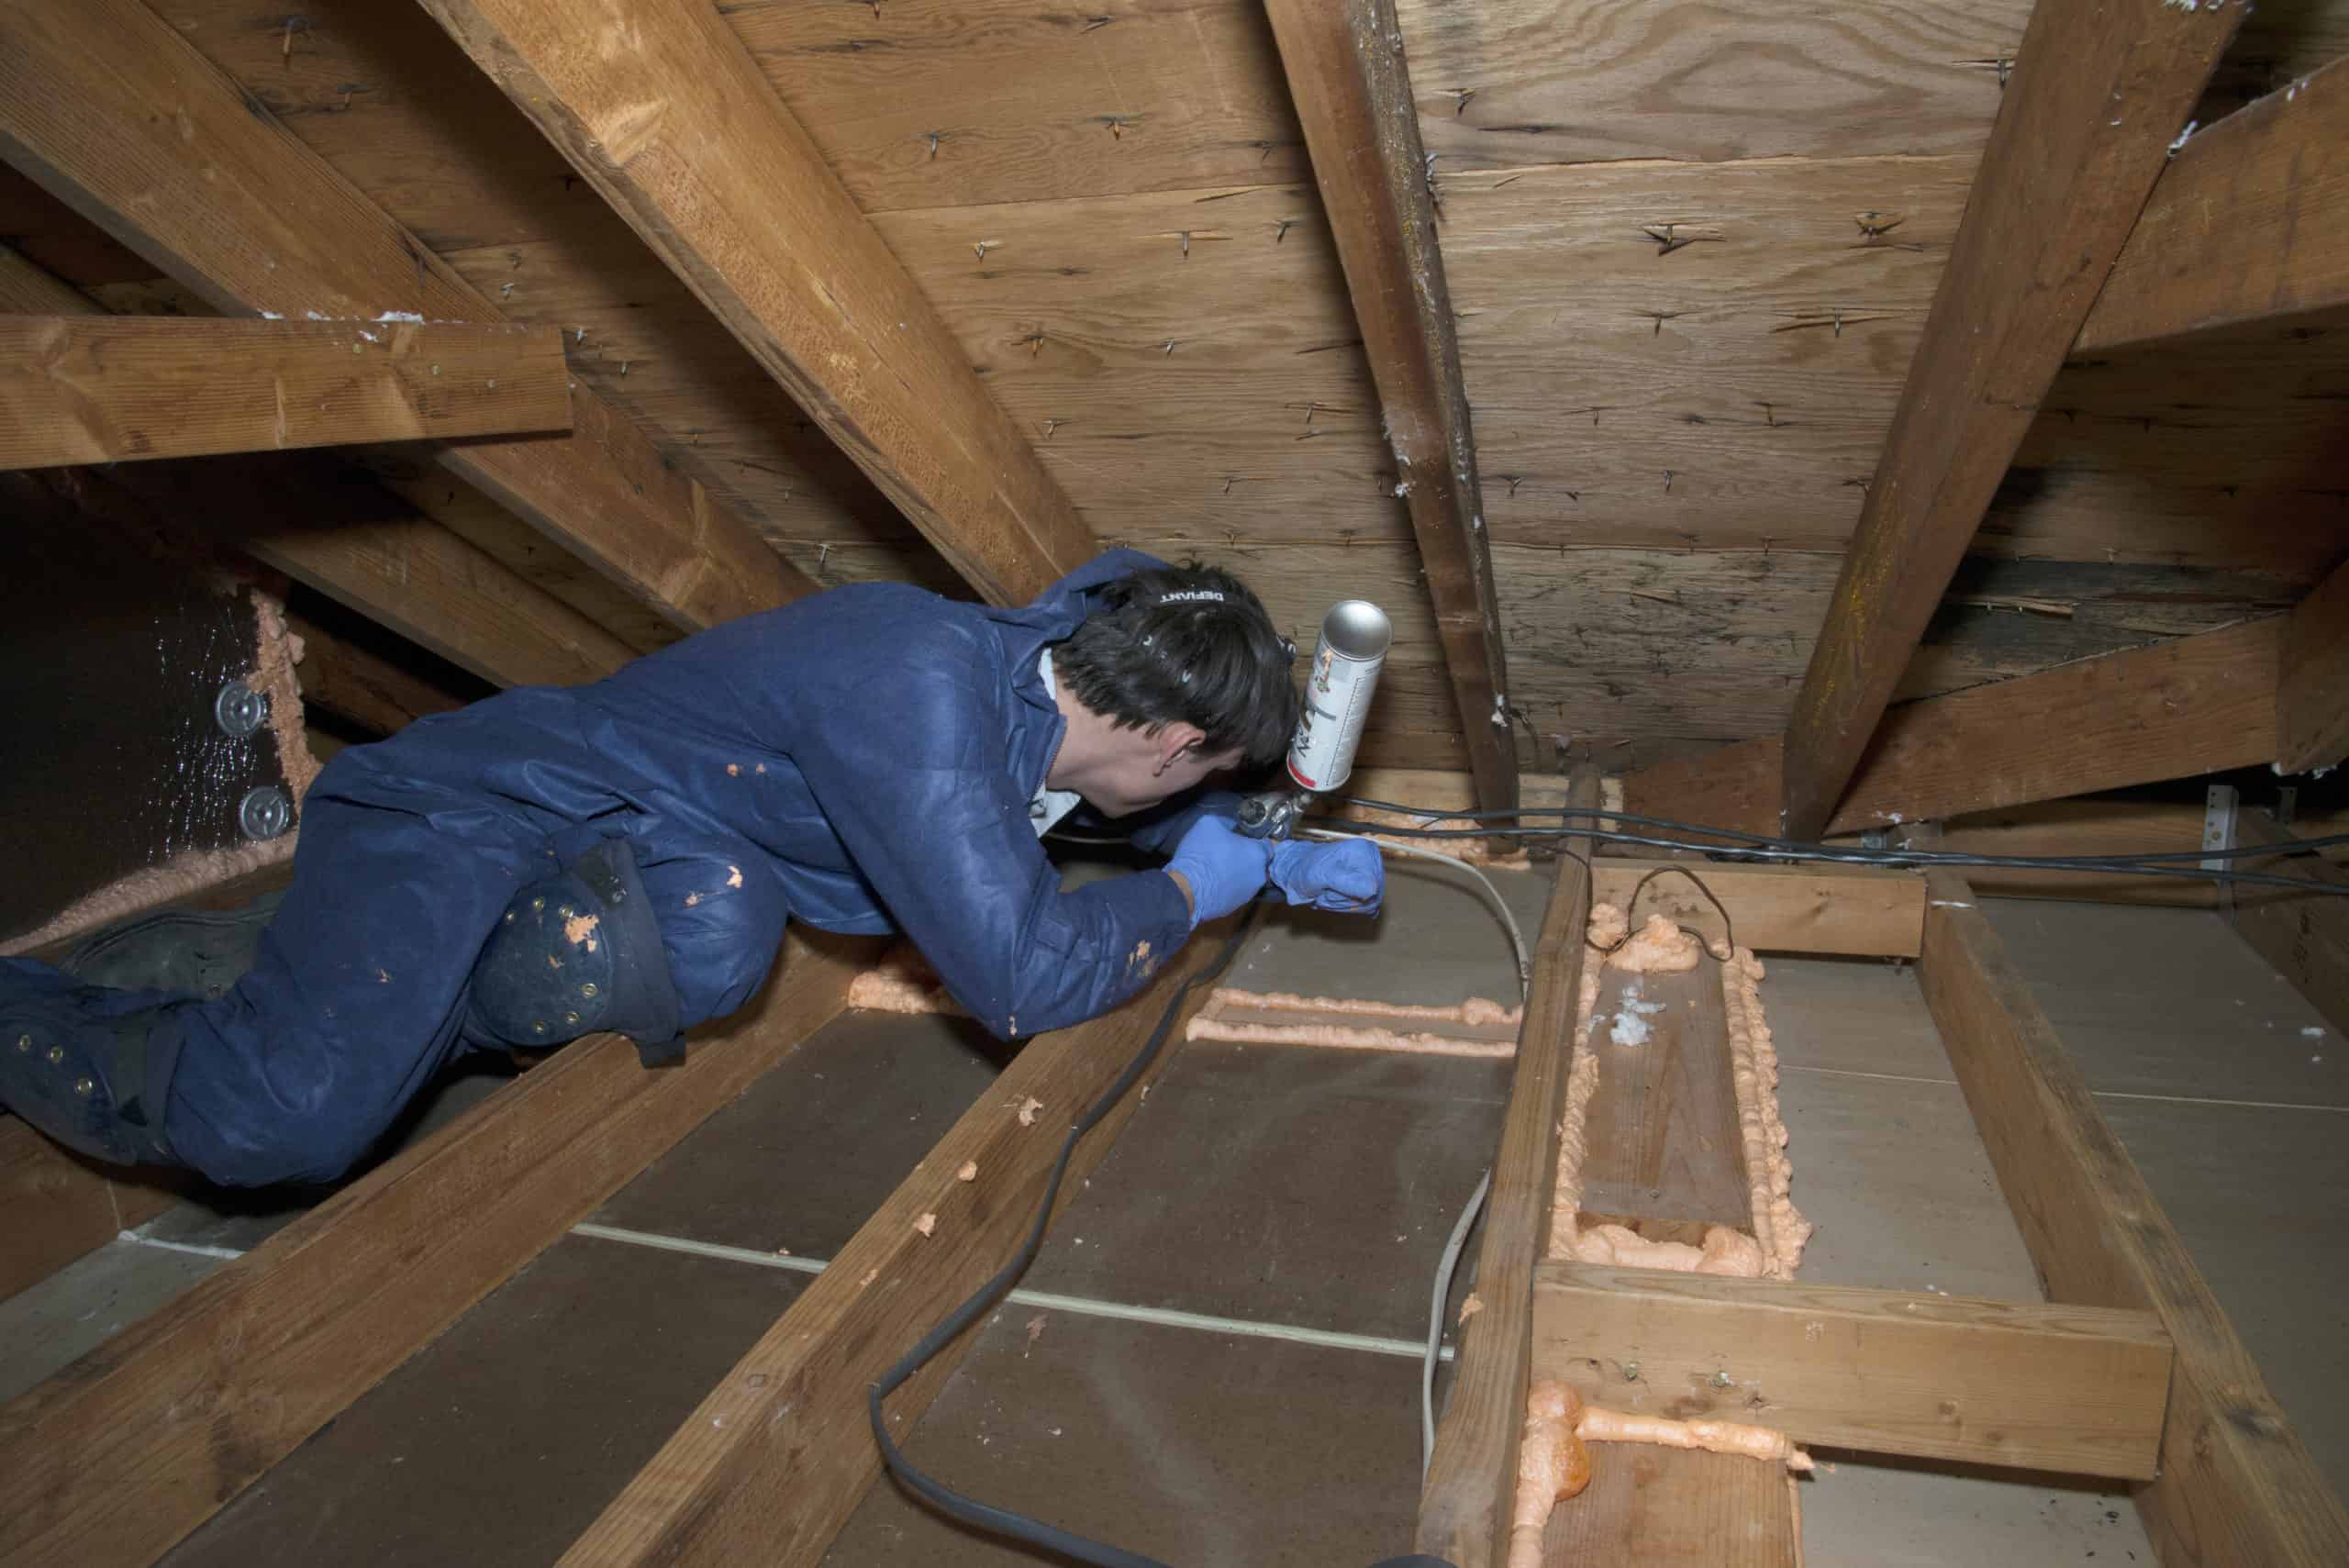
Spray foam insulation contains chemicals that expand and harden when applied. During this process, fumes are released into the air. These fumes can cause throat irritation, breathing issues, and headaches. People with asthma or allergies may react more strongly. The smell can also be overwhelming, making it uncomfortable to stay inside. Poor ventilation increases exposure and keeps fumes trapped. Pets and young children are more sensitive to airborne chemicals. Staying inside without proper airflow may lead to discomfort. Leaving during installation reduces exposure. If staying is necessary, keeping windows open and fans running helps clear the air faster.
Safe Re-Entry Times Based on Ventilation
The time needed before re-entering depends on airflow and insulation type. Most manufacturers recommend staying out for at least a full day, though some cases require longer. Homes with strong ventilation clear out fumes faster. Keeping windows open and running fans speeds up the process. HVAC systems help circulate air, but may need filter changes afterward. If the smell is still strong after a couple of days, staying out longer is safer. Smaller spaces hold odors longer than larger ones. Checking for lingering smells before returning helps avoid irritation. Proper ventilation makes re-entry easier and prevents exposure to strong chemical odors.
How Spray Foam Cures and Dries
What Happens During the Curing Process
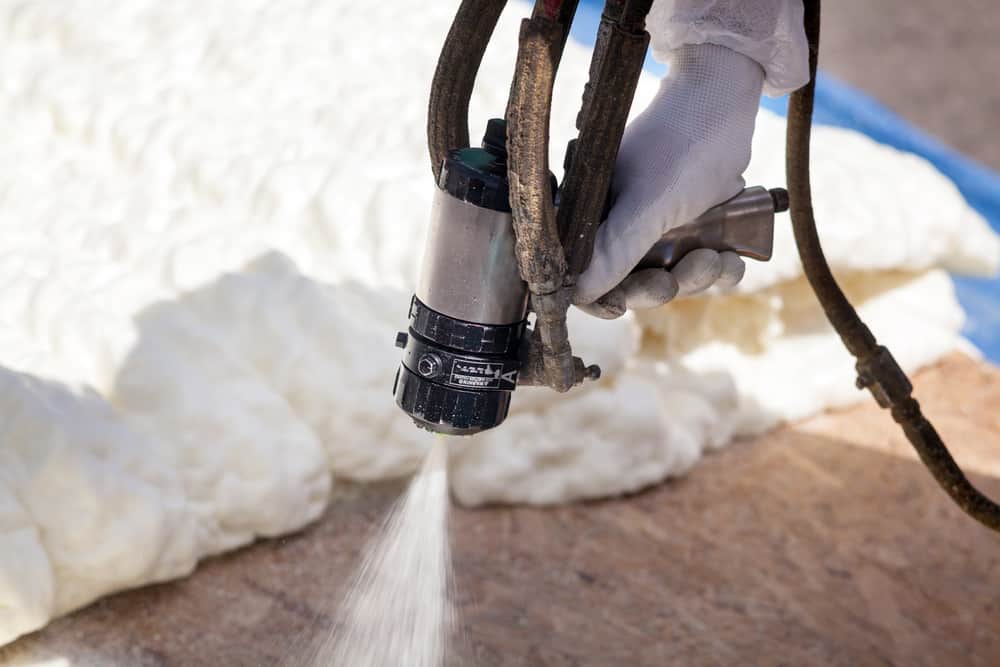
Spray foam insulation starts as a liquid and expands when applied. It sticks to surfaces and fills gaps, creating an airtight seal. As it expands, a chemical reaction causes it to harden. This process is called curing. The foam goes through different stages, starting as soft and sticky before becoming firm. Open-cell foam dries faster than closed-cell foam. Most products become stable within a day, but full curing can take longer. During this time, airborne chemicals break down, and odors may linger. Proper ventilation moves fresh air through the space. Once fully cured, the foam becomes solid and stops releasing odors.
Factors That Speed Up or Slow Down Drying
Several factors affect how long spray foam takes to dry. Temperature plays a big role. Warmer conditions help it set faster, while colder temperatures slow it down. Humidity also affects drying time. High moisture levels in the air can extend the process, while dry conditions allow the foam to harden sooner. Ventilation makes a difference too. Good airflow moves fumes out and allows the foam to set properly. The thickness of the application matters. Thicker layers take longer to dry than thin coats. Giving the foam enough time to fully cure prevents lingering odors and ensures better air quality.
Safety Steps for People and Pets
How Spray Foam Affects Indoor Air Quality
Spray foam insulation releases chemicals into the air as it cures. These chemicals can cause strong odors and affect indoor air quality. Some people may feel irritation in their eyes, throat, or nose if they stay inside too long. Poor ventilation makes the smell last longer. The type of foam used also affects air quality. Open-cell foam has a milder odor, while closed-cell foam can take longer to air out. Running fans and opening windows helps clear the air faster. It is best to stay out of the home until the fumes fade to avoid breathing in the chemicals.
Precautions for Kids and Pets During Installation
Children and pets are more sensitive to strong smells and chemicals. Keeping them away from the work area prevents irritation or breathing issues. If possible, they should stay elsewhere until the fumes clear. Soft surfaces like carpets and furniture can absorb odors, so keeping doors closed to unaffected rooms helps. Pets may react differently to the smell and should not be left inside during installation. Birds are especially sensitive and must be moved out. If returning within a day, proper ventilation is needed. Checking for lingering odors before allowing kids and pets back inside keeps them safer.
What to Do Before and After Installation
Steps to Prepare Your Home for Installation
Preparing your home before spray foam insulation makes the process smoother. Clearing the work area helps installers move easily. Furniture, decorations, and personal items should be covered or moved to another room. Pets and children must be kept away to avoid exposure to chemicals. Turning off the HVAC systems during installation prevents fumes from spreading. Windows and doors should be kept open for better airflow. Any fragile or valuable items near the workspace should be removed. Planning where to stay during the curing period is also important. Proper preparation keeps the home safe and helps the insulation cure correctly.
Signs That Show It’s Safe to Return
Knowing when it is safe to return helps prevent discomfort from lingering fumes. The smell should be weak or completely gone before re-entering. If the air still feels heavy, more ventilation is needed. Checking the manufacturer’s recommended curing time helps avoid early exposure. Windows should stay open until the air feels fresh. If strong odors persist beyond two days, additional fans or air purifiers may be required. People with allergies or breathing issues should wait longer. Running an HVAC system with a clean filter can speed up the process. A home is ready when the air smells clean.
How to Know When It’s Safe to Go Back Inside
Going back too soon after spray foam insulation can lead to discomfort from strong odors. Good airflow helps fumes clear faster, making re-entry safer. Planning ahead keeps your home fresh and irritation-free. Knowing the right waiting time prevents exposure to lingering fumes. Proper ventilation and curing time keep indoor air clean. Waiting long enough avoids issues like trapped chemicals or strong smells. If you want reliable insulation with careful safety steps, First Defense Insulation handles every step properly to keep your home protected.